Total Cost
| Frame | $ 20.00 |
| Flight Controller | $ 59.99 |
| Motors | $ 14.99 |
| Receiver | $ 15.99 |
| Transmitter | $ 49.99 |
| Antenna | $ 29.99 |
| Camera | $ 19.99 |
| Props | $ 2.99 |
| Battery | $ 2.99 |
| USB Converter | $ 4.50 |
| $ 219.42 |
Frame:
Phoenix Flight Gear 110mm Carbon Fiber Micro-H Frame 8mm V2
$20.00


Flight Controller:
Beef's Brushed Board
$59.99

Motors:
CL0820-17 Coreless Motor Set
$14.99

Rx:
MicroFrX FrSky Receiver
$15.99

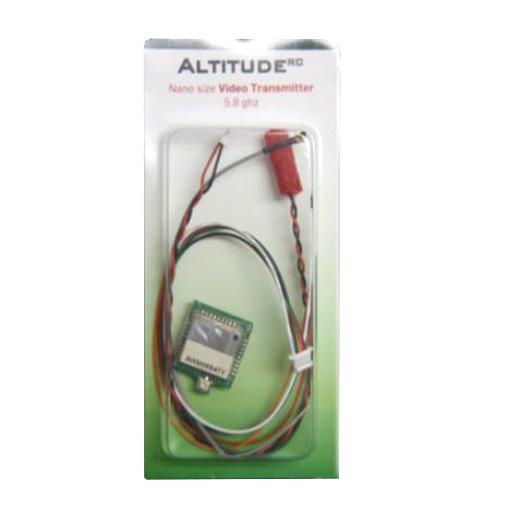
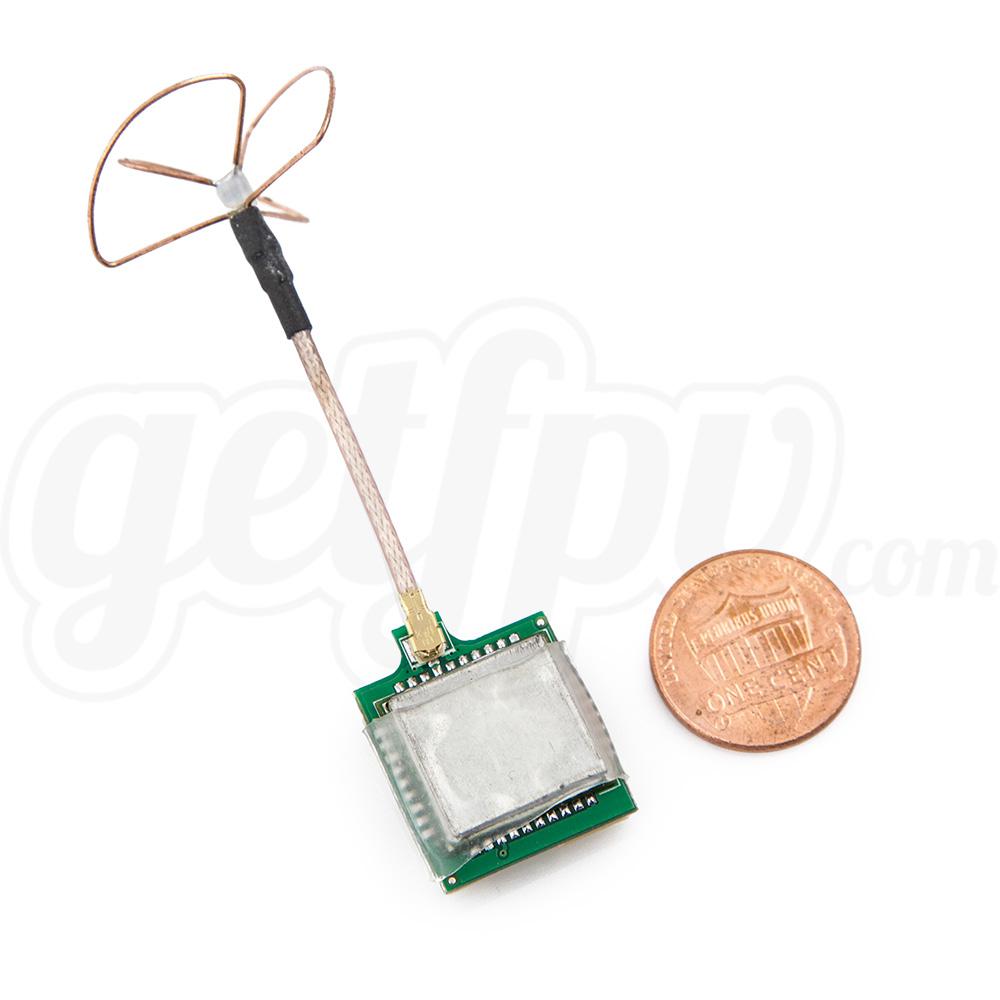
Tx:
AltitudeRC Nano 25mx 5.8GHz
$49.99
Antenna:
TrueRC 5.8GHz Nano Clover Leaf
$29.99
Camera:
Micro 600TVL 110 Degree Camera
$19.99


Don't buy the above Hubsan's! Below are way better.
Ladybird Props
$10.99 for 5 sets

Battery:
Nano-Tech 750mAh 1S
$2.99

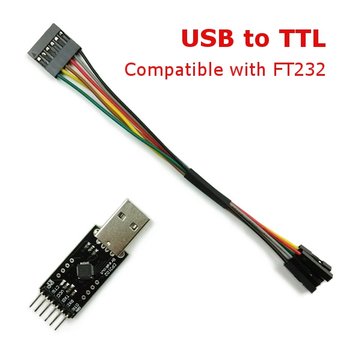
USB Converter:
USB to TTL Converter Module
$4.50
See the video for the full description of the build (fair warning it is 40 minutes!!).
Here is the wiring diagram i am working on (did not include the motors since they are obvious)

First lay out your motors. Now these are supposed to be Clockwise Motors (blue/red) and Counter-Clockwise Motors (white/black) but that is not how mine came. Be aware. I had to switch motor 2 and motor 4.

Put the motors in the motor mounts (harder than it looks).

Next I decided to wire the FrSky Rx to the 3 small cables and cut them. Do this carefully as the small wires are delicate.


Now with this process there was one BIG issue. I tried to pair the RX with my Taranis by jumping the wires with a small wire, a large wire, and a screwdriver but every time it did not work. In the end, i had to put a pretty significant amount of solder onto the bind pads to get it to bind. Additionally, the instructions imply that it should stop blinking after it binds but that is not the case. You just need to unplug it, remove the solder, and then connect the battery again. I wasted at least an hour trying to jump this pad without solder.....don't try it, just solder.
As far as programming the Beef's Brushed, i suggest just following the instructions from the manufacturer as they are very clear. Beef's Brushed Manual
So after binding, I need to connect the FPV gear. I could de-solder the existing camera connections for power, ground and video (seen below) but instead decide to just solder the wires from the camera to the wires to the TX. Now while doing this the 3v cable to the camera came off and i had to re-solder it. It was a pain but was ok, it would have probably been ok to just solder the TX wires to the camera. So if you follow this, you could try it.


So once everything connected together, I was able to get a picture in my Fat Shark goggles. At this point it is a win and i just need to put the quad together. Now I placed the Beef's Brushed 90 degree yaw of the position because i wanted access to the USB connectors. For this I had to make sure the brushed motors were connected correctly and the board was rotated and Cleanflight was adjusted 90 degree yaw. I highly recommend this set-up as it gave me a lot of flexibility.


**Notes**
1) For the Lipos, I had to trim off some of the white tabs to make the connectors fit into the JST charger and Walkera power connectors
2) The clover antenna is very delicate. I shrink wrapped it on but it still fell off. I recommend zip tying or hot gluing it on. If it falls off, the quad will not be able to distribute power correctly and not fly right.
3) I had some extra sticky velcro from another build, it was handy for the betteries
4) I hate the Hubsan props. I bought Lady Bird props and they seem better
5) In Cleanflight, Acro mode for the Naze32 firmware is actually the lack of a mode. For mine, I have horizon mode set and the other modes not set implying Acro mode.